About The Course
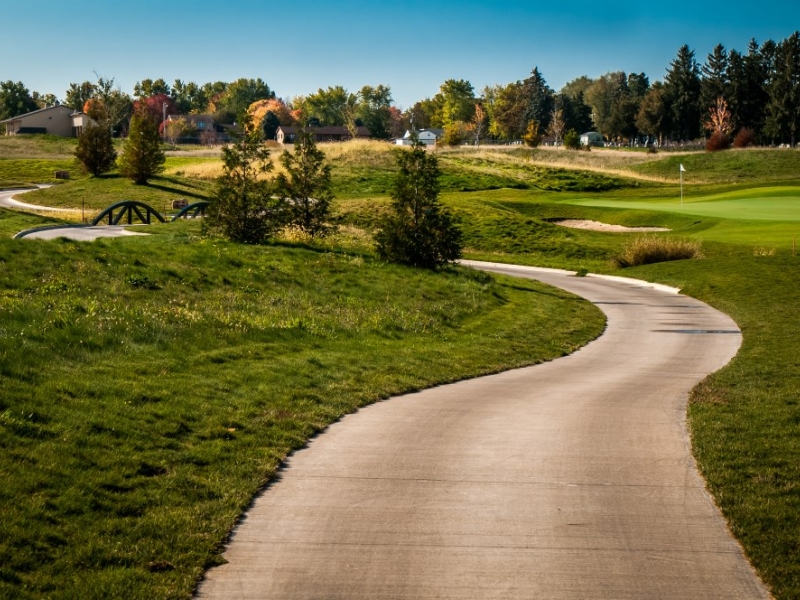
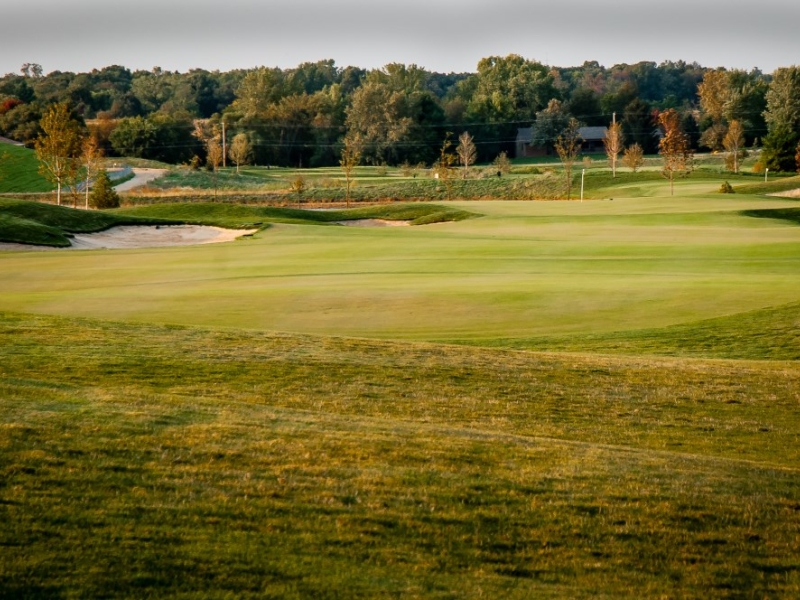
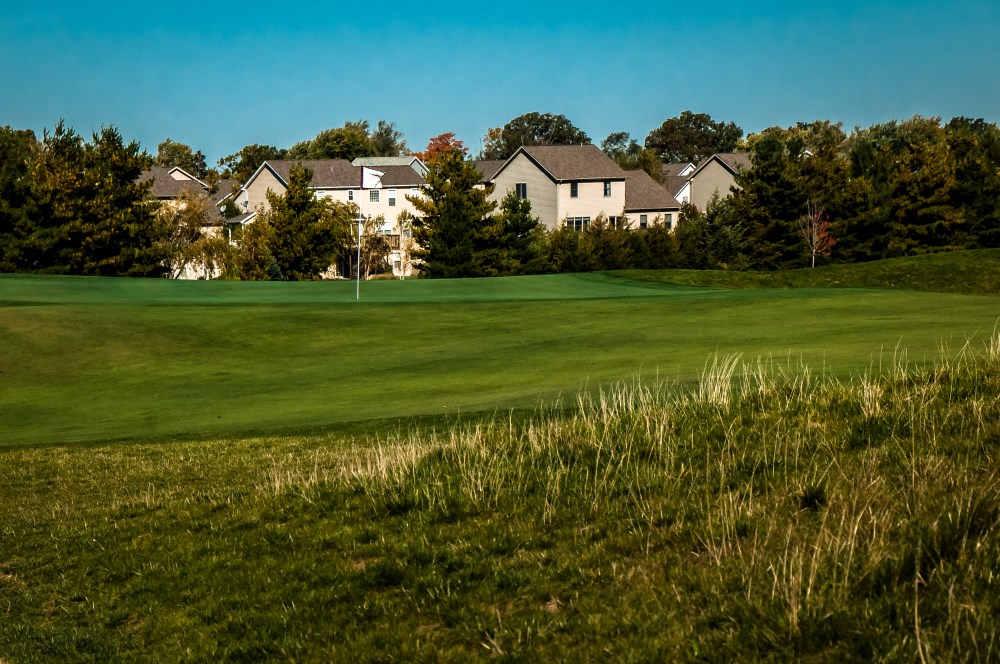
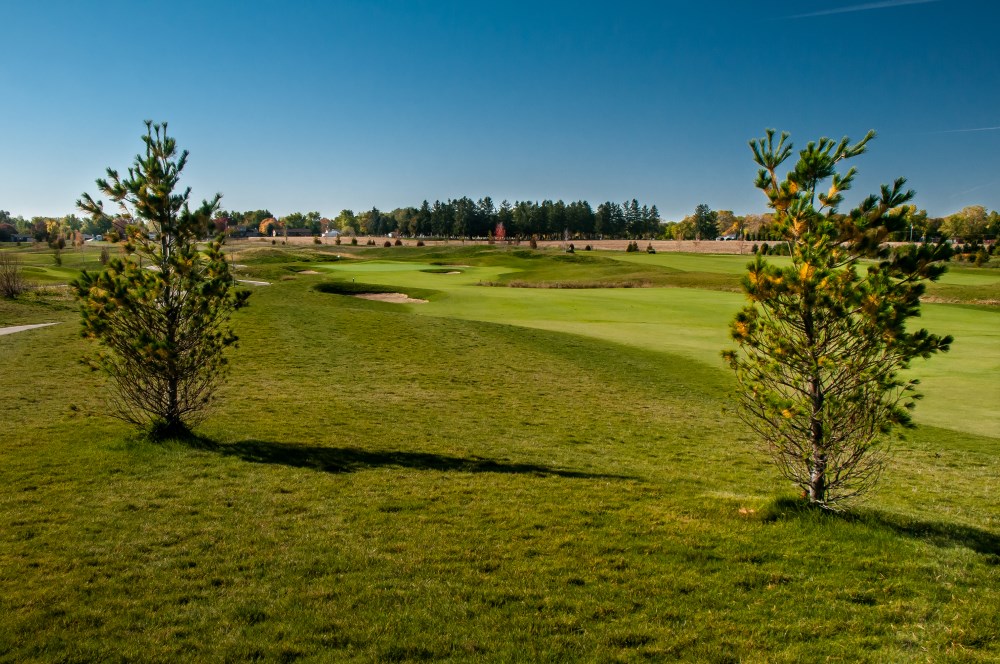
Metamora Fields Golf Course will provide a fine blend of holes inviting all levels of play and handicaps to enjoy. Weibring-Wolfard Golf Design believes in a central theme of straight forward shot values, old fashion traditional play-ability, opportunities for players to bounce the ball into and around every green with variety and options to play the game.
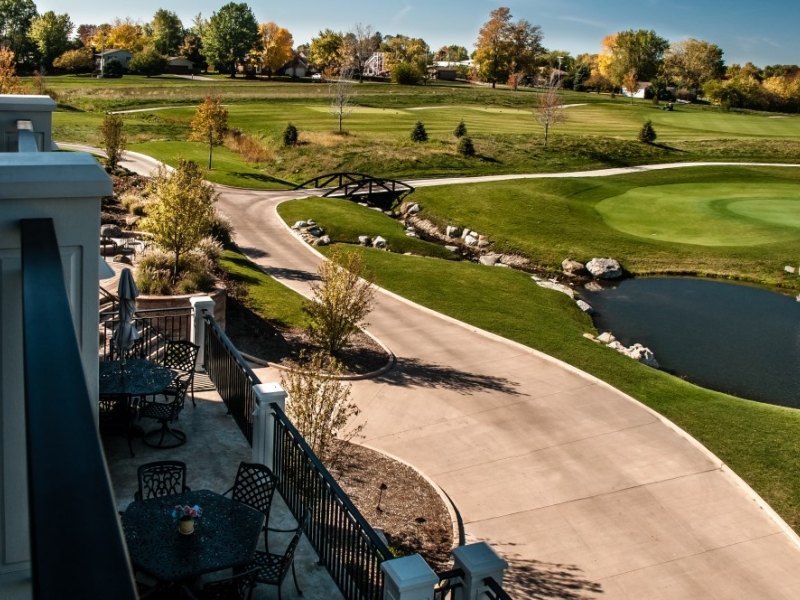
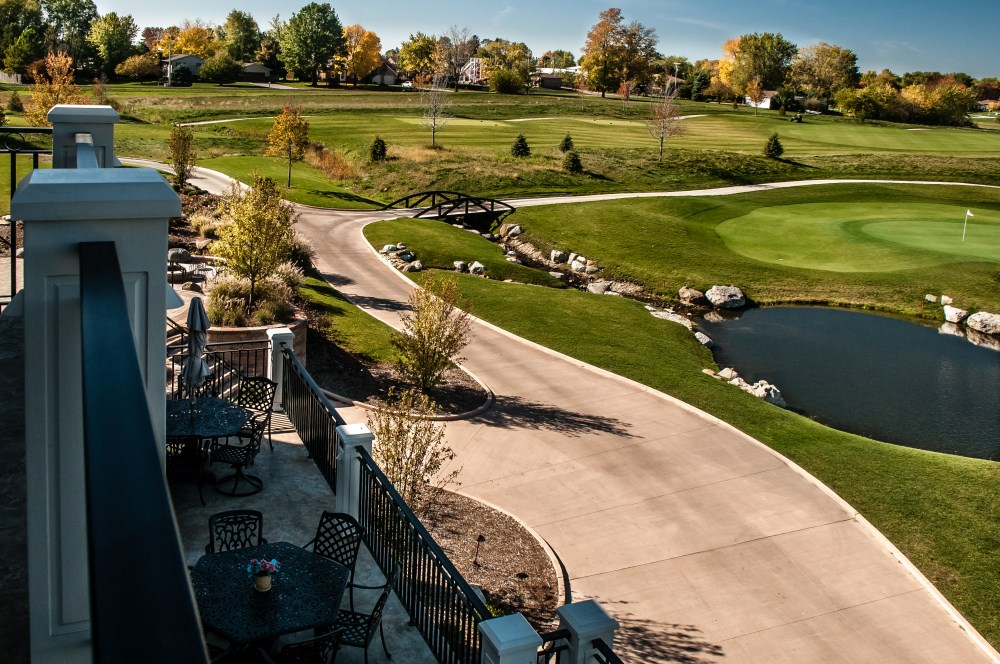
We believe in an affordable golf experience that everyone can enjoy. Our facility is "Exclusively Public", open to everyone, and we promise to deliver a high quality golf, function, and/or dining experience worthy of your consideration in today's economy.
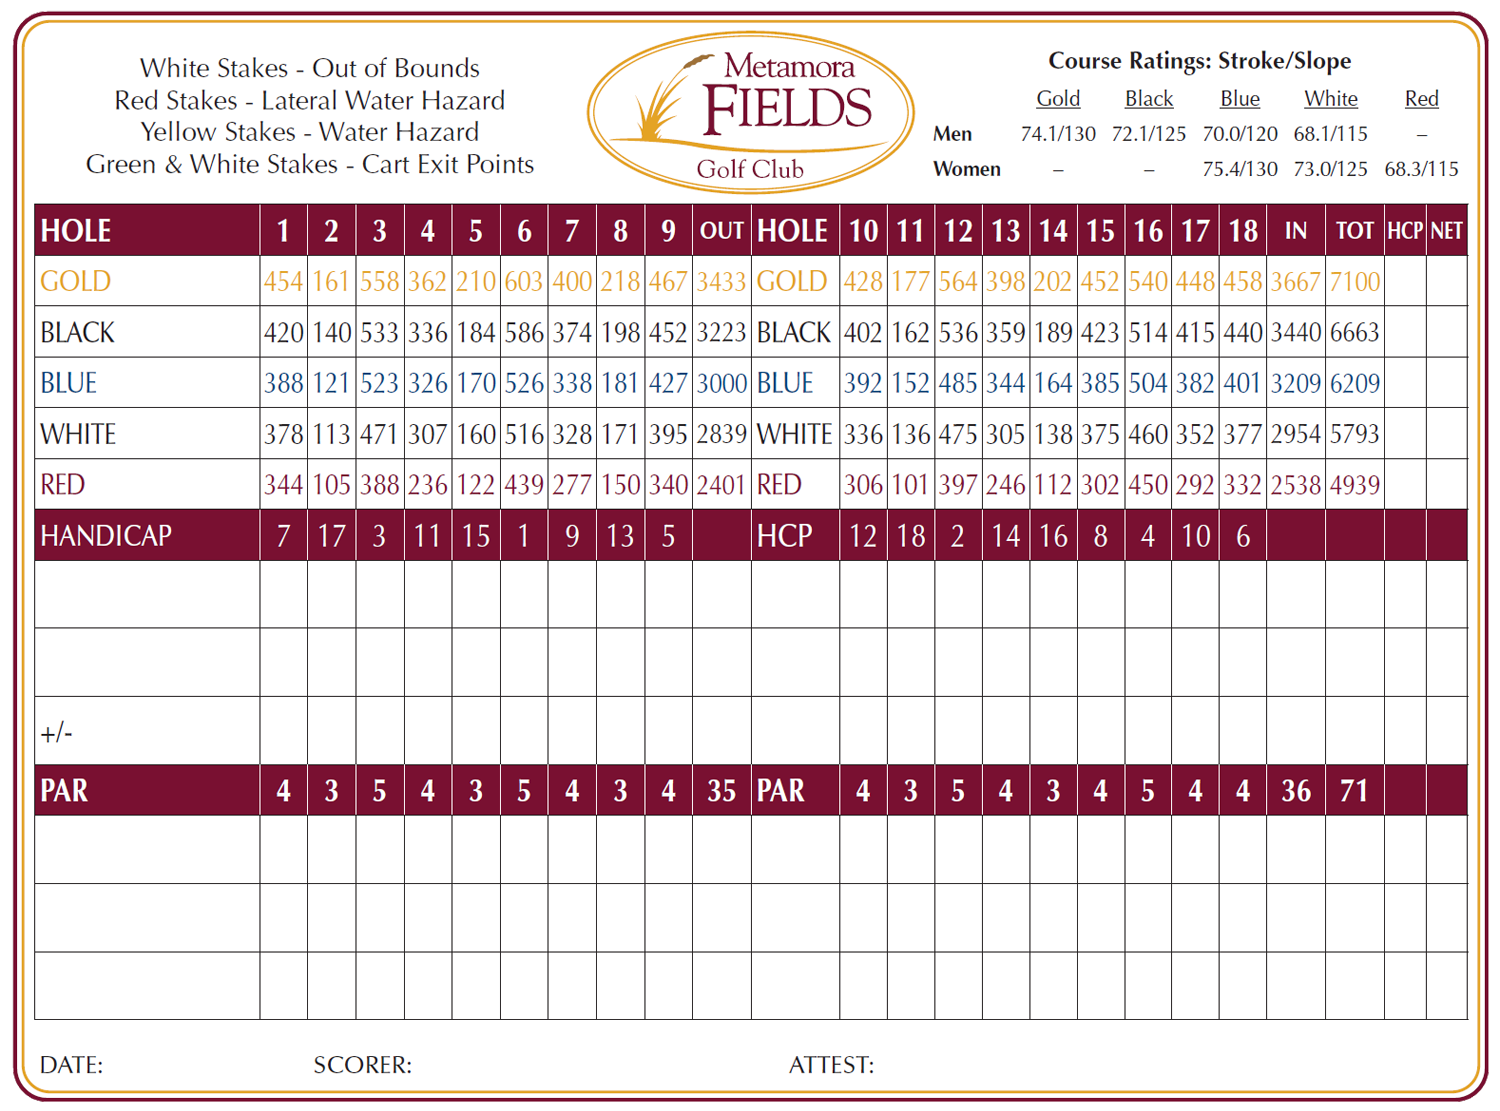
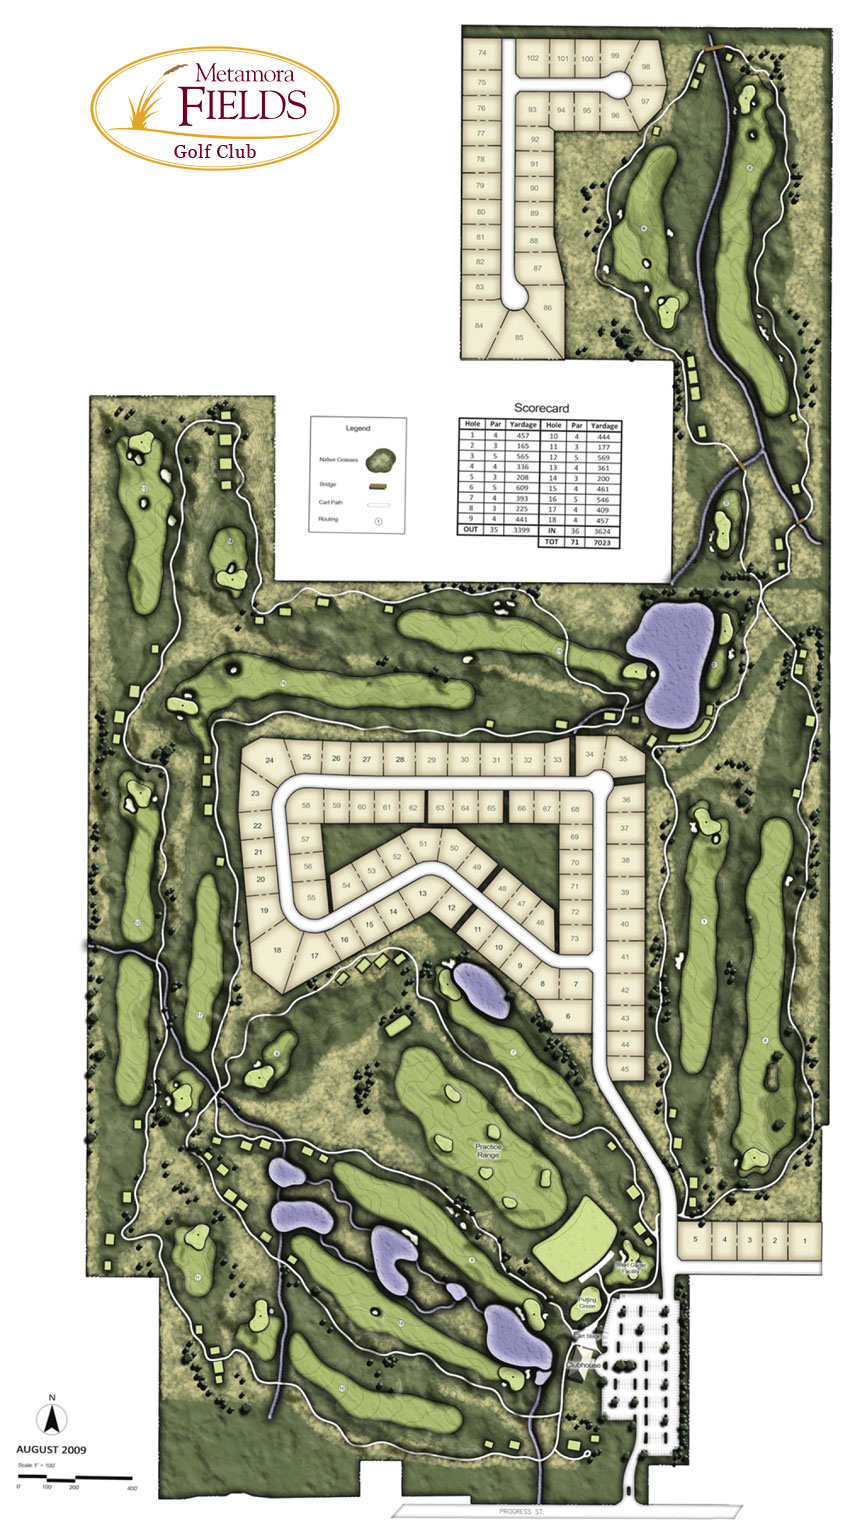
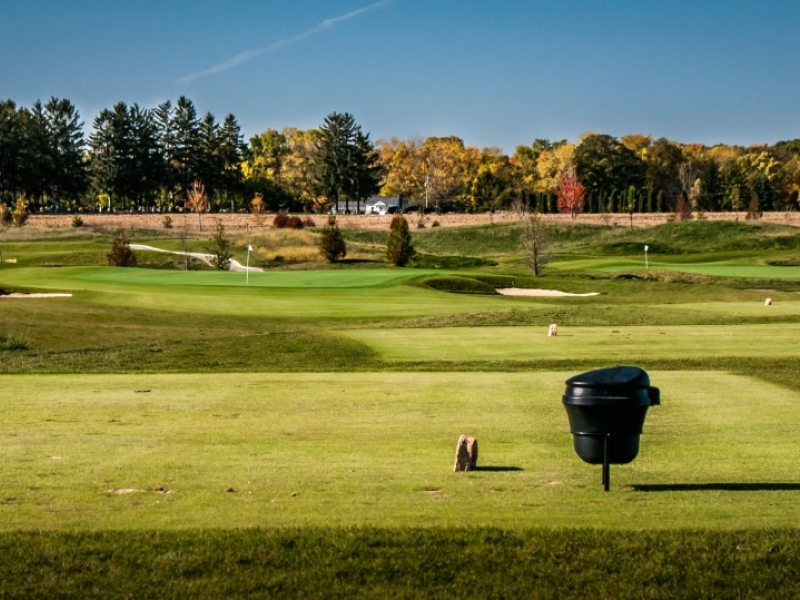
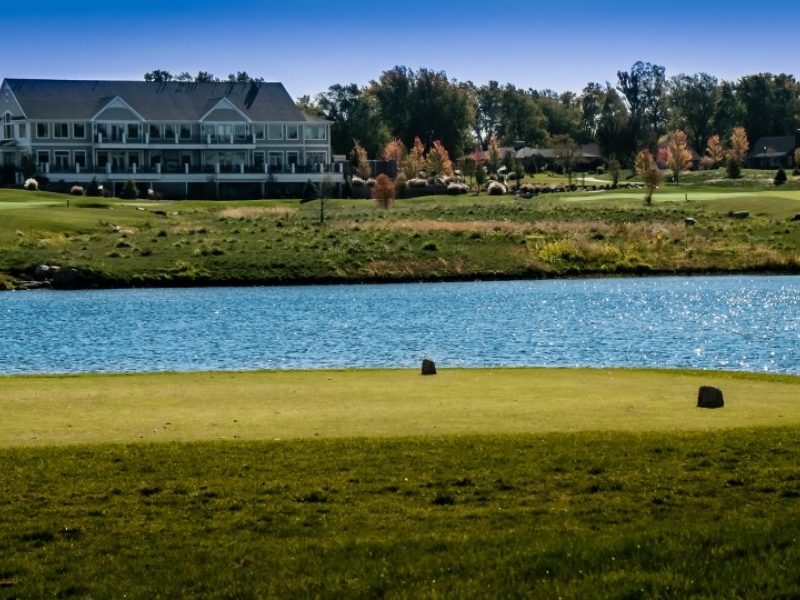
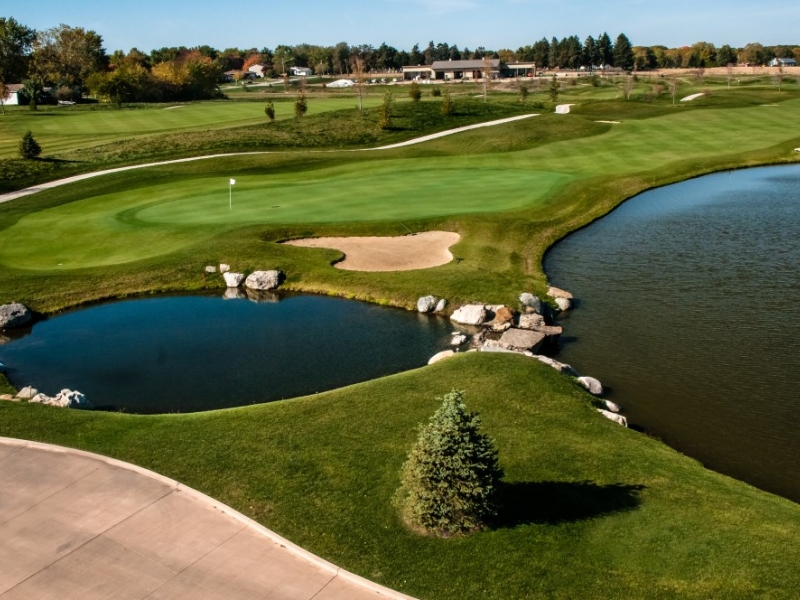
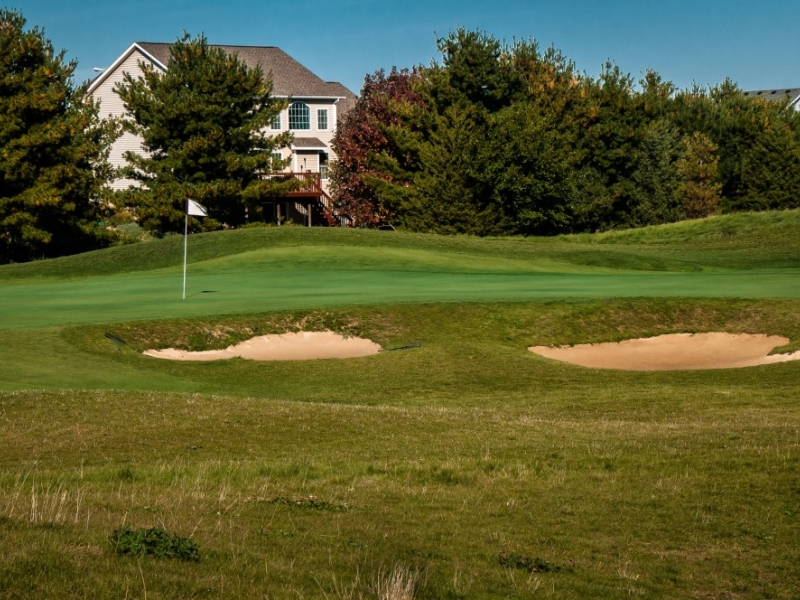
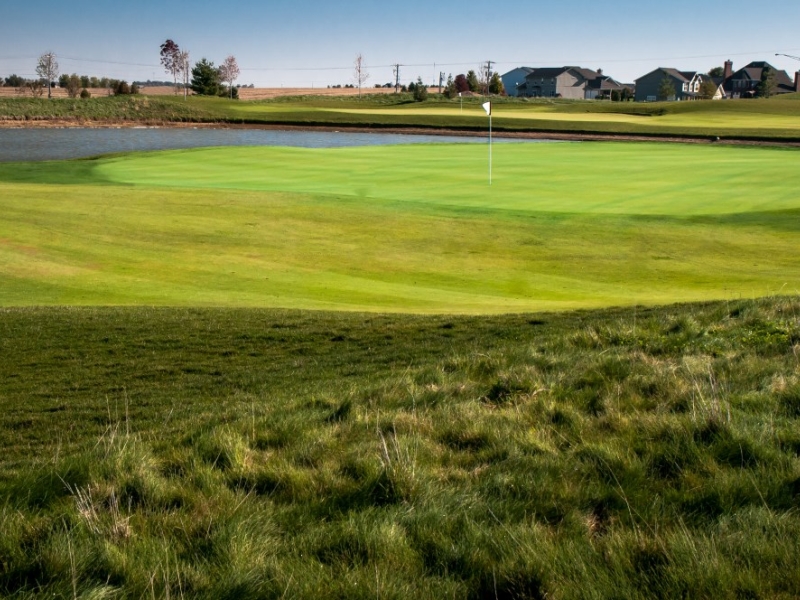
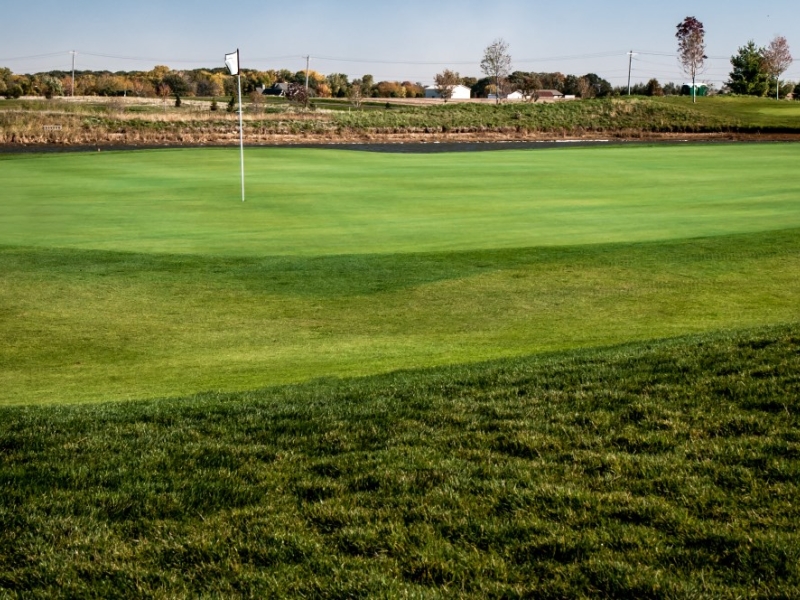
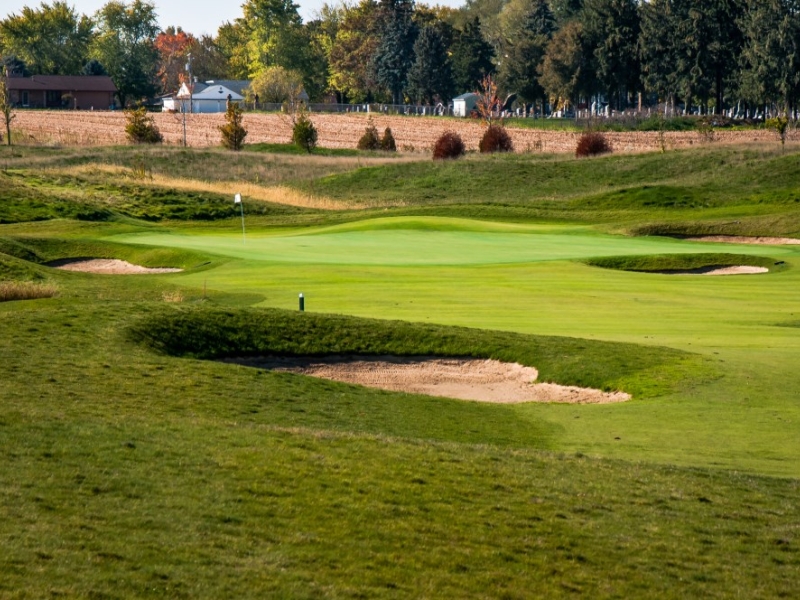
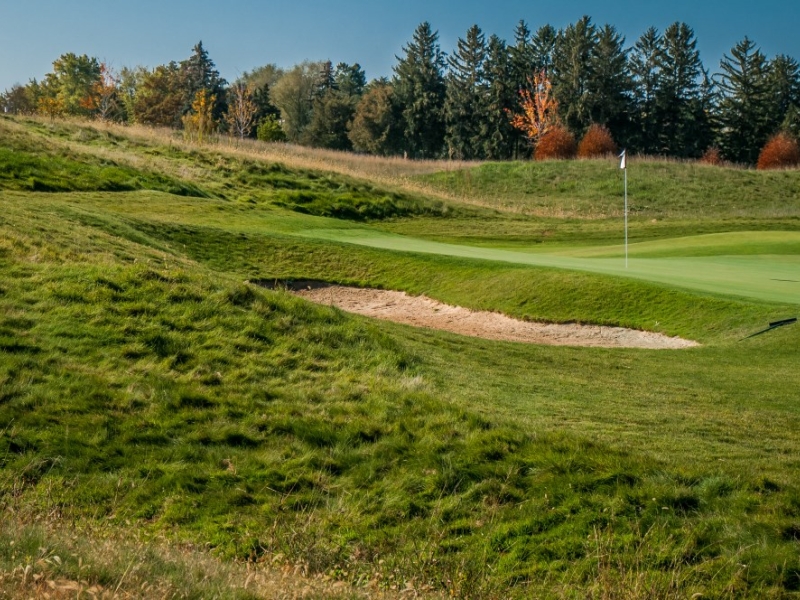
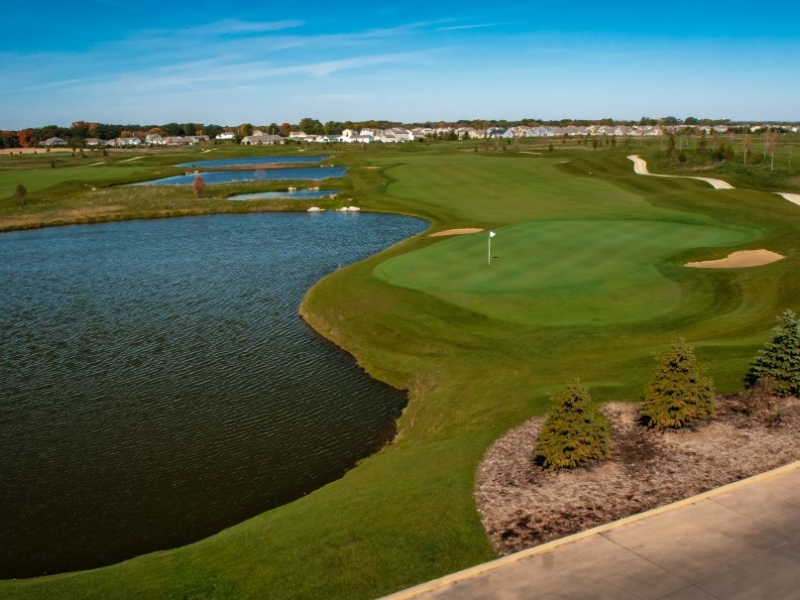
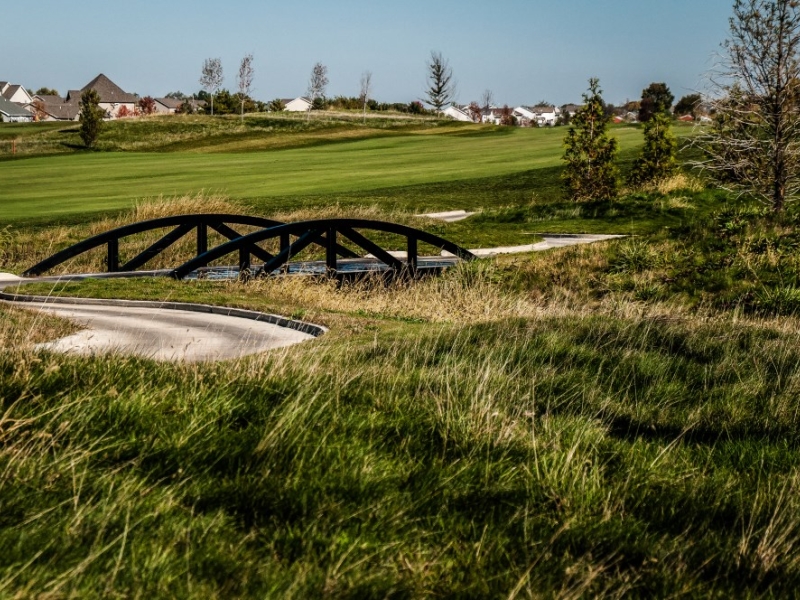
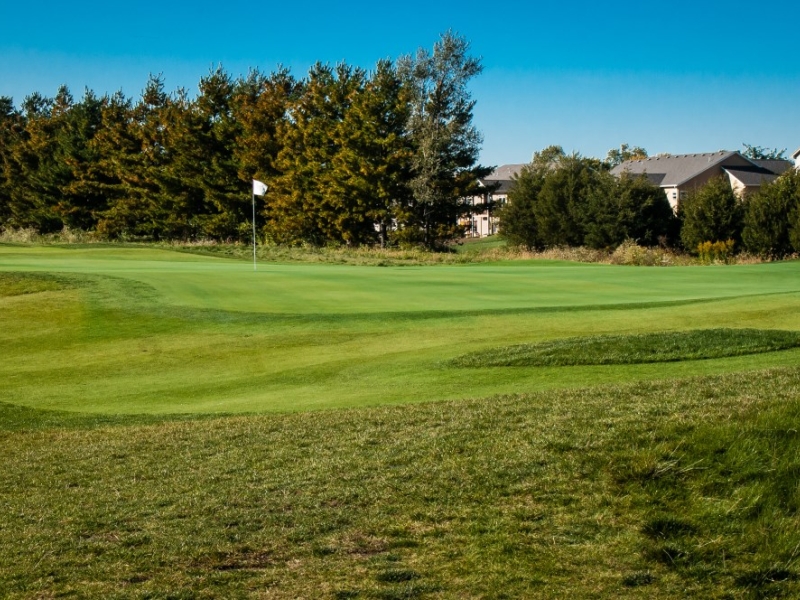
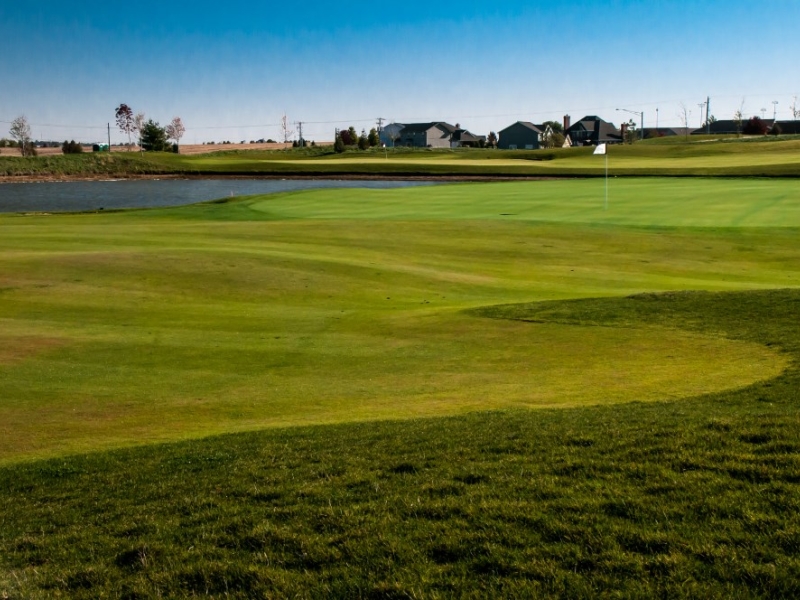
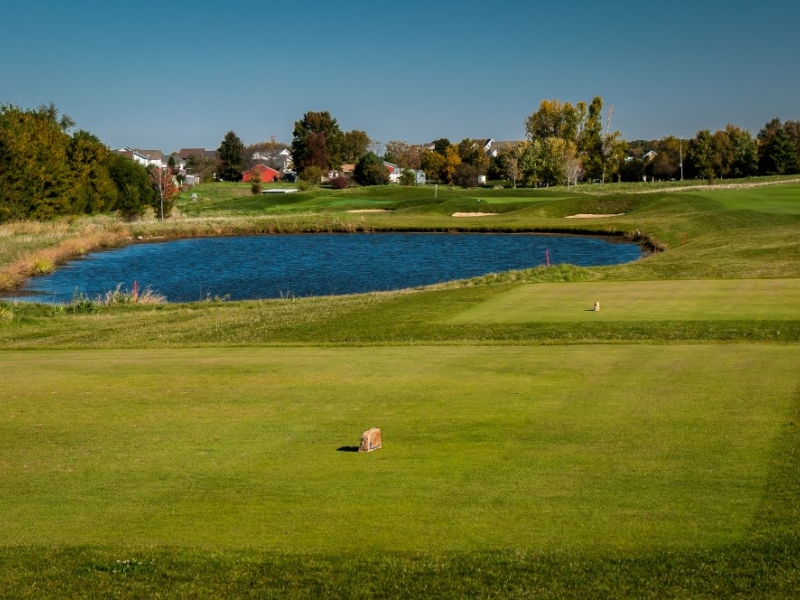
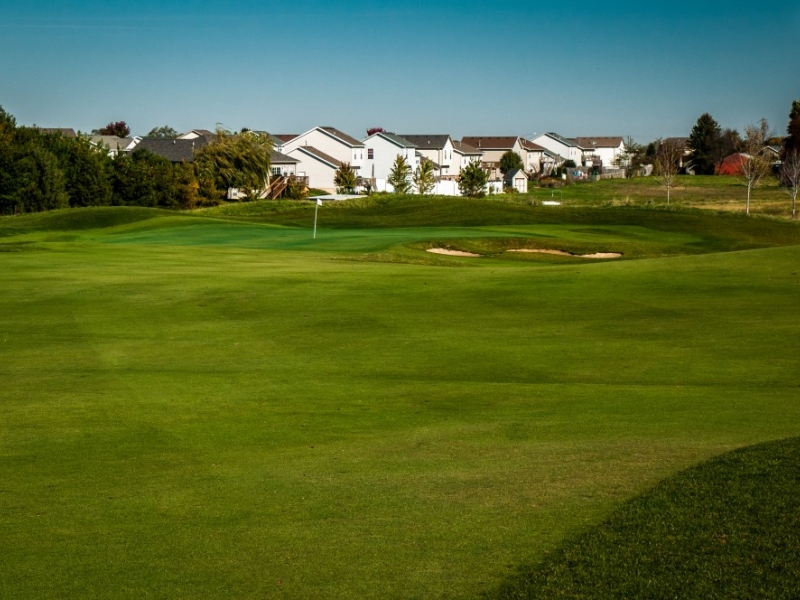
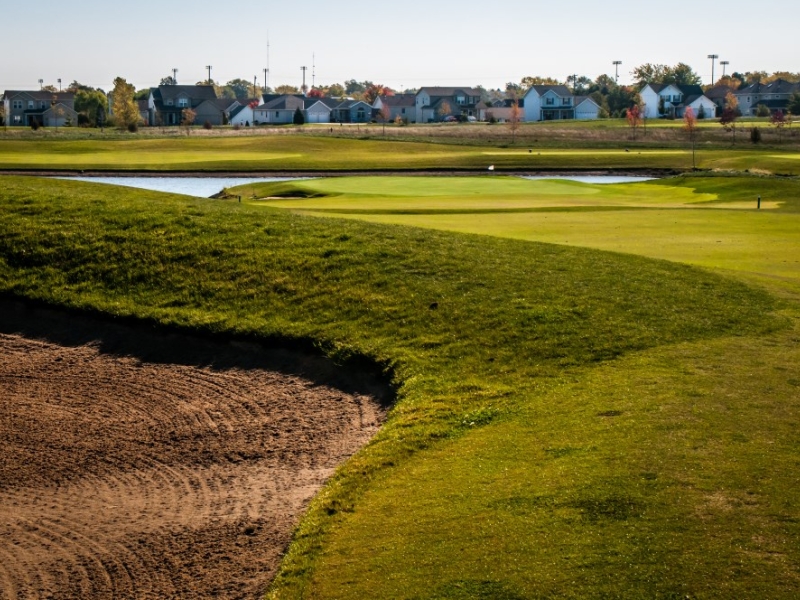
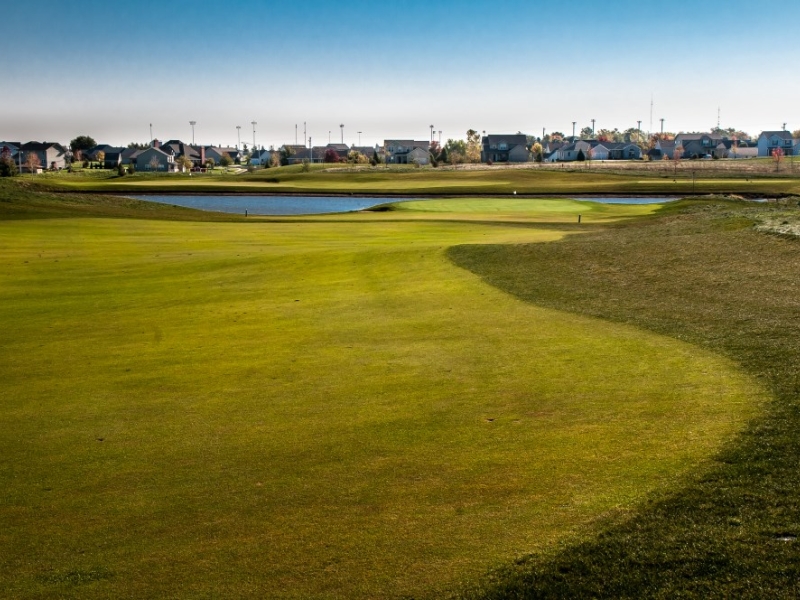
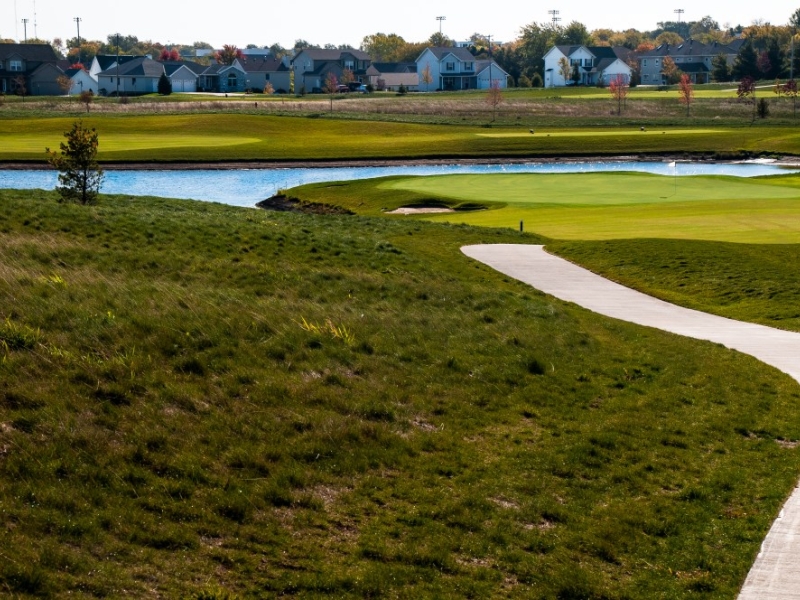
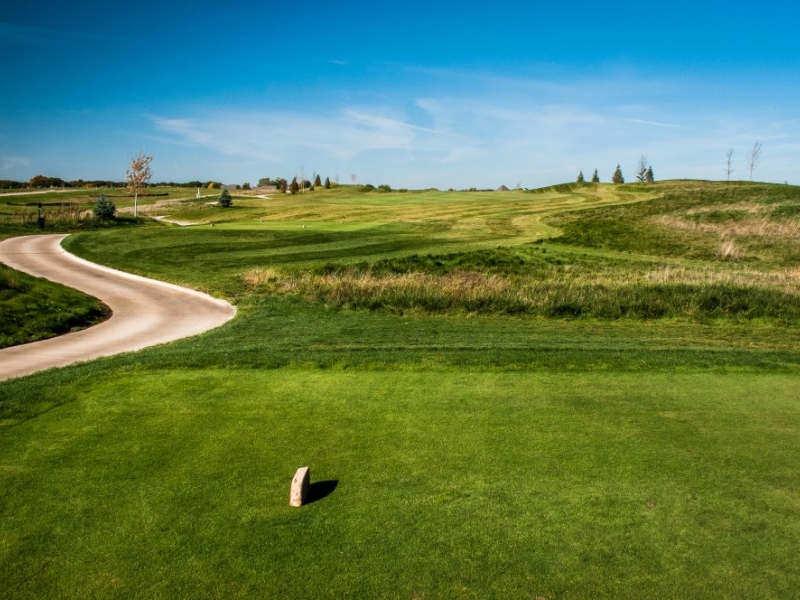
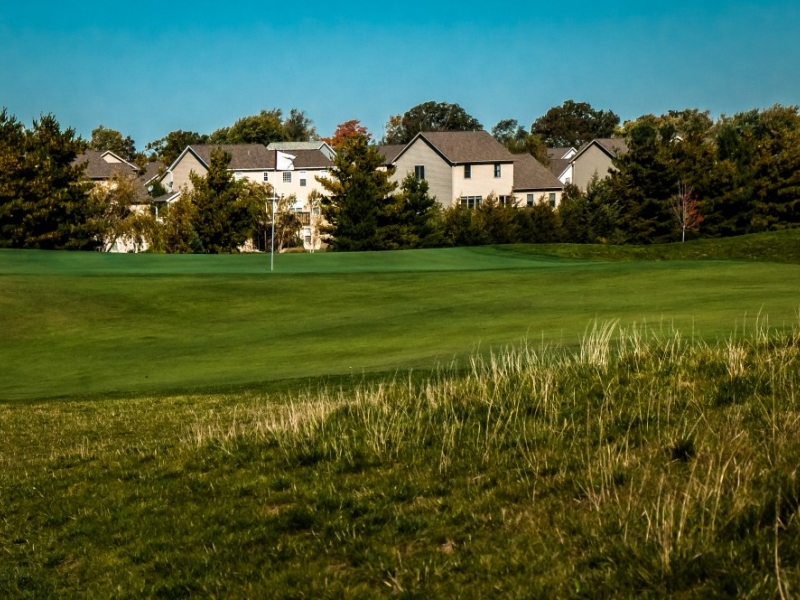
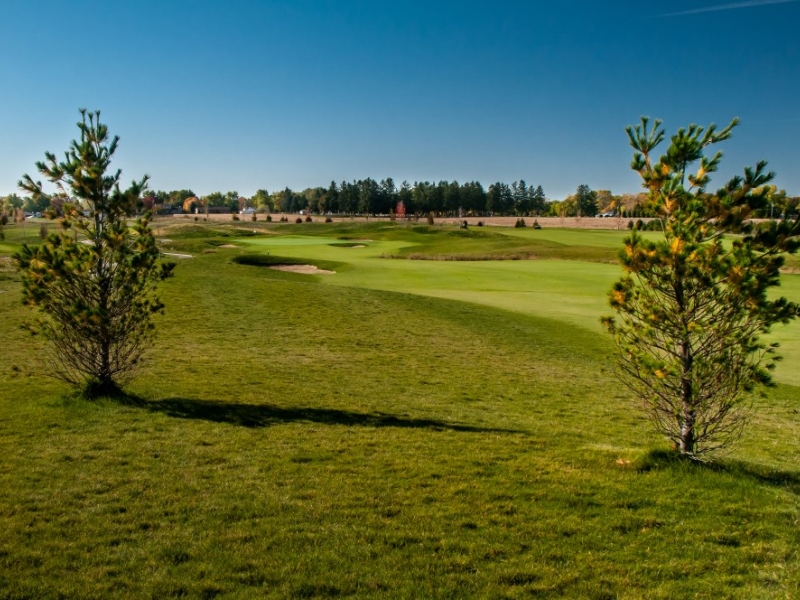
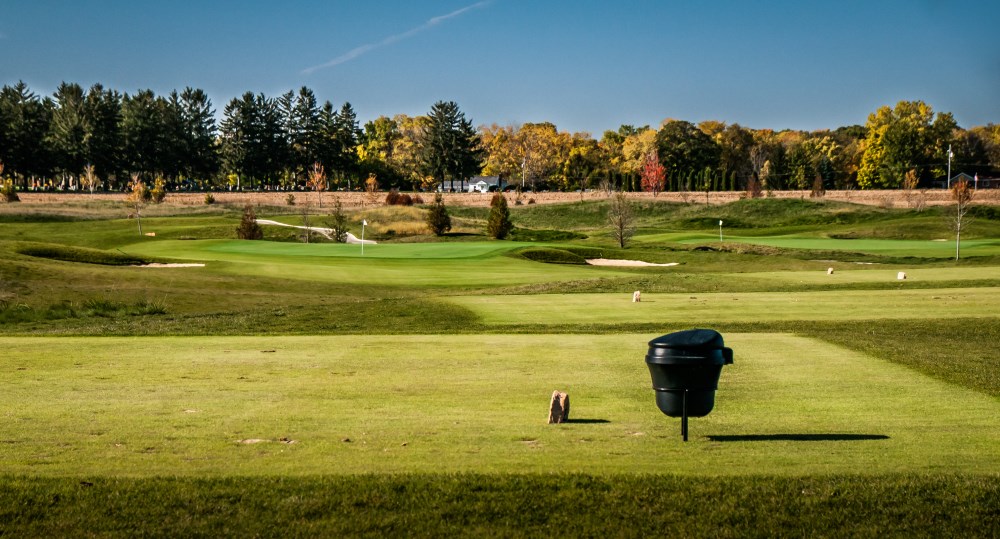
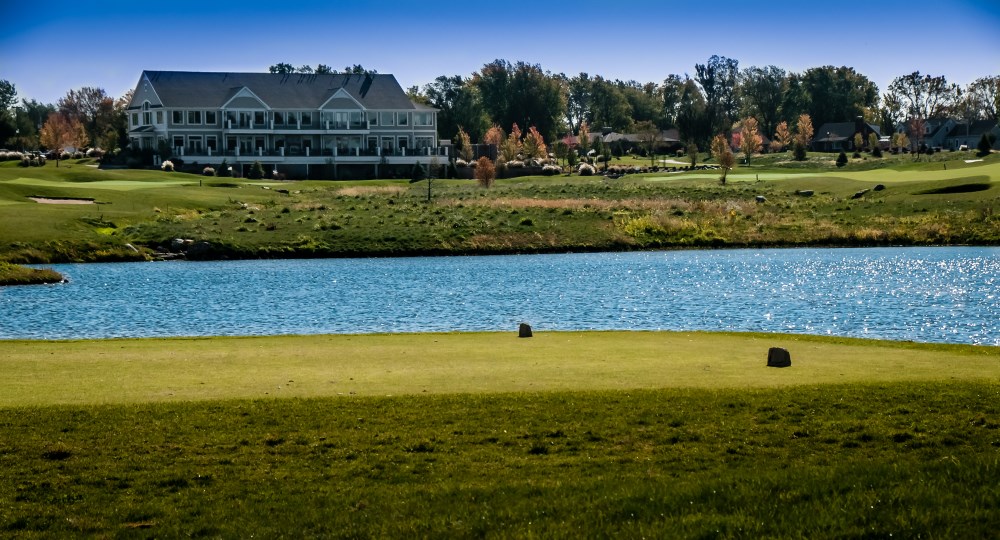
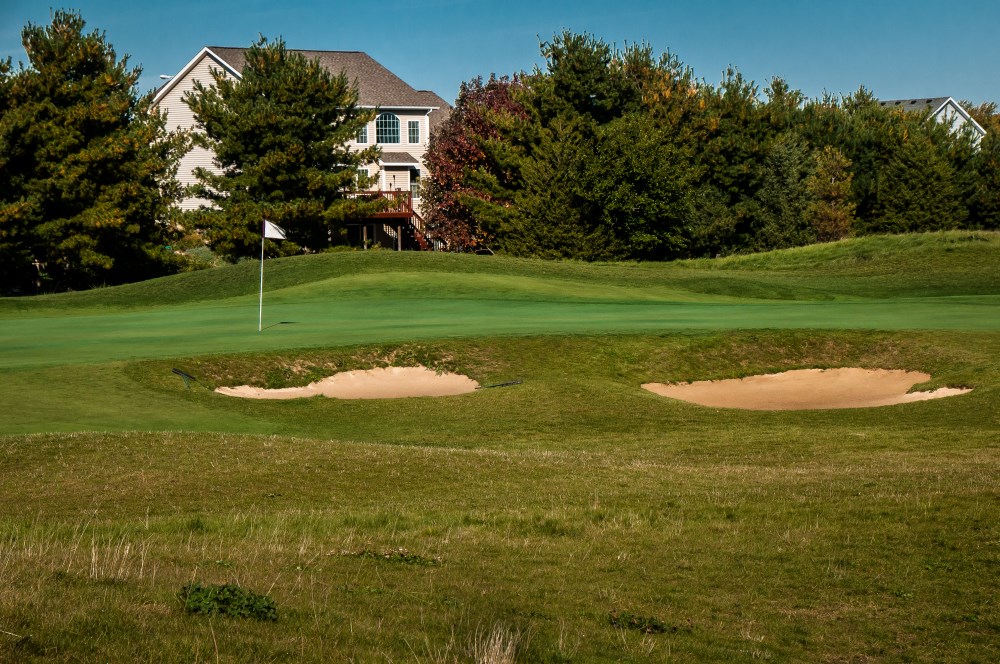
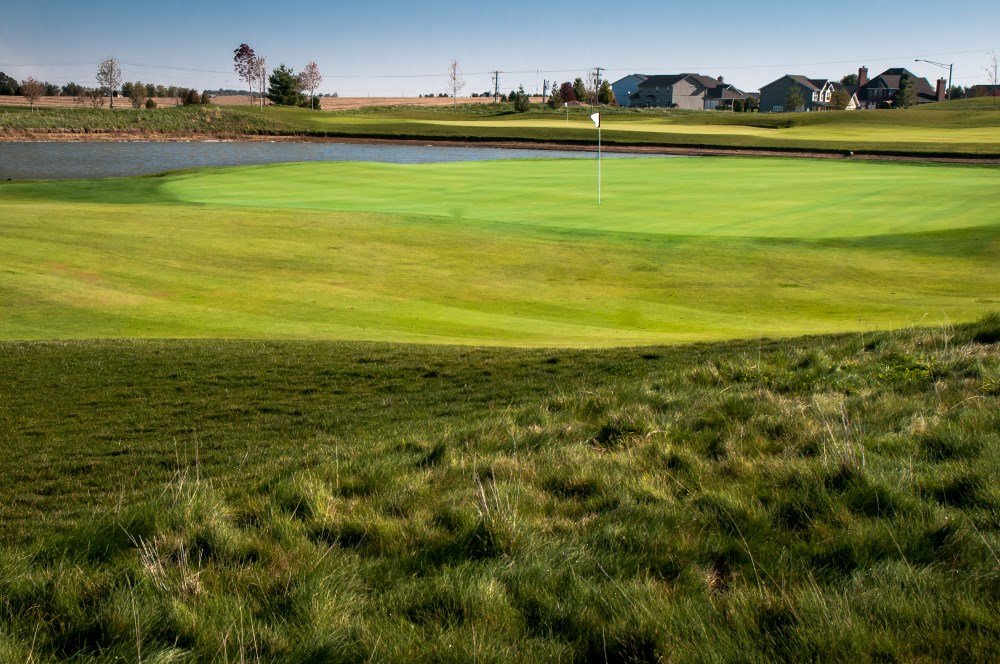
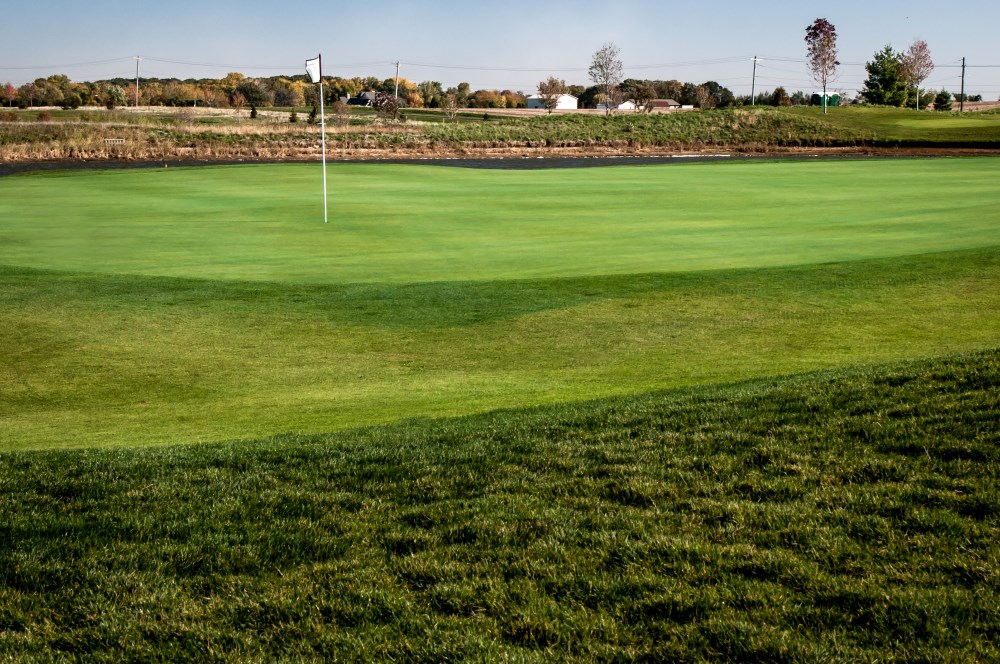
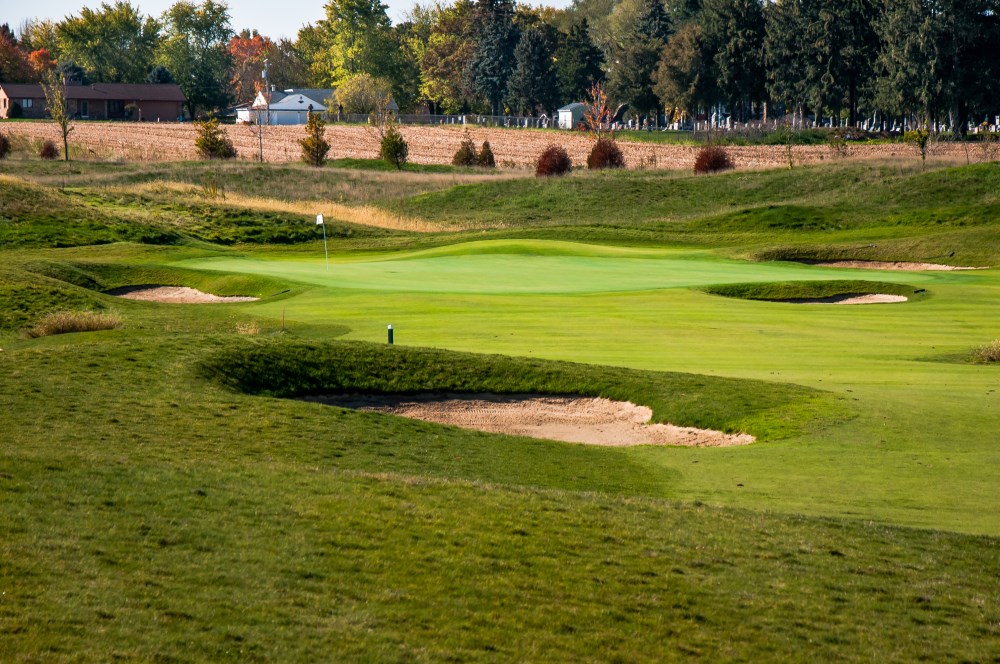
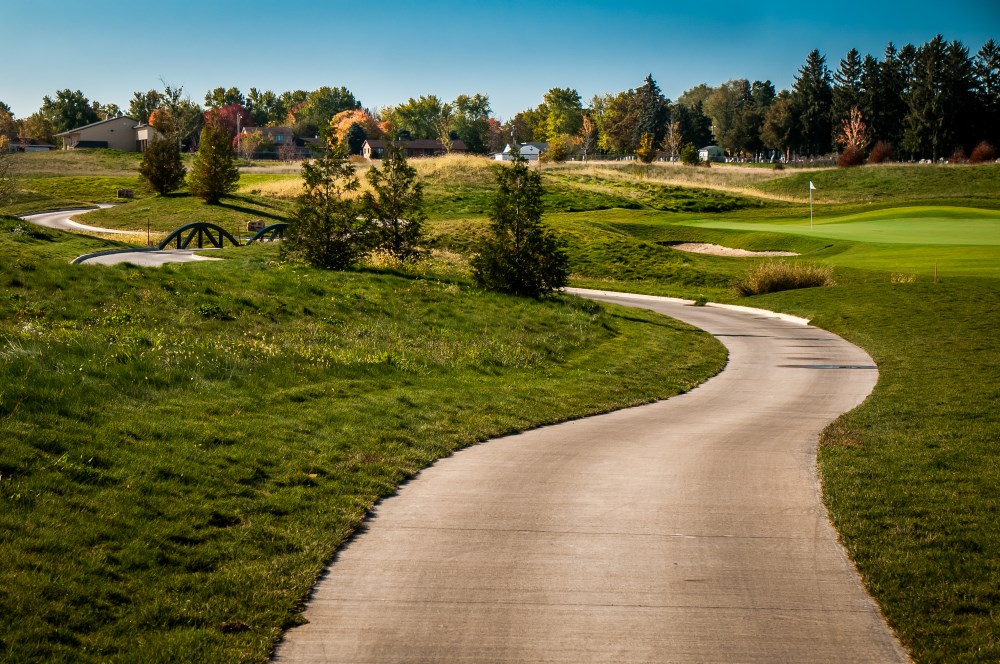
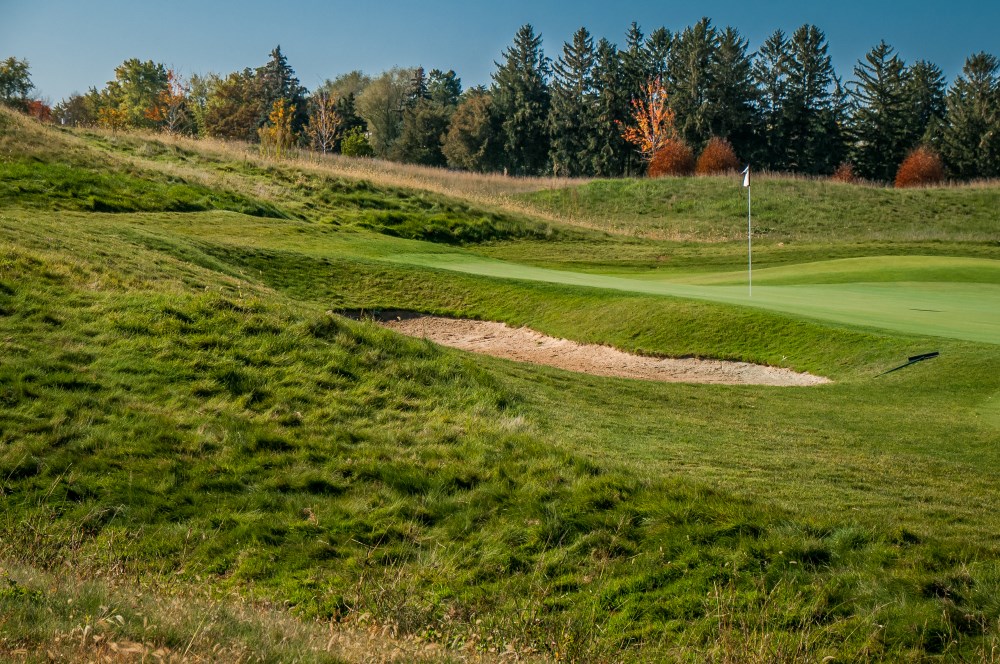
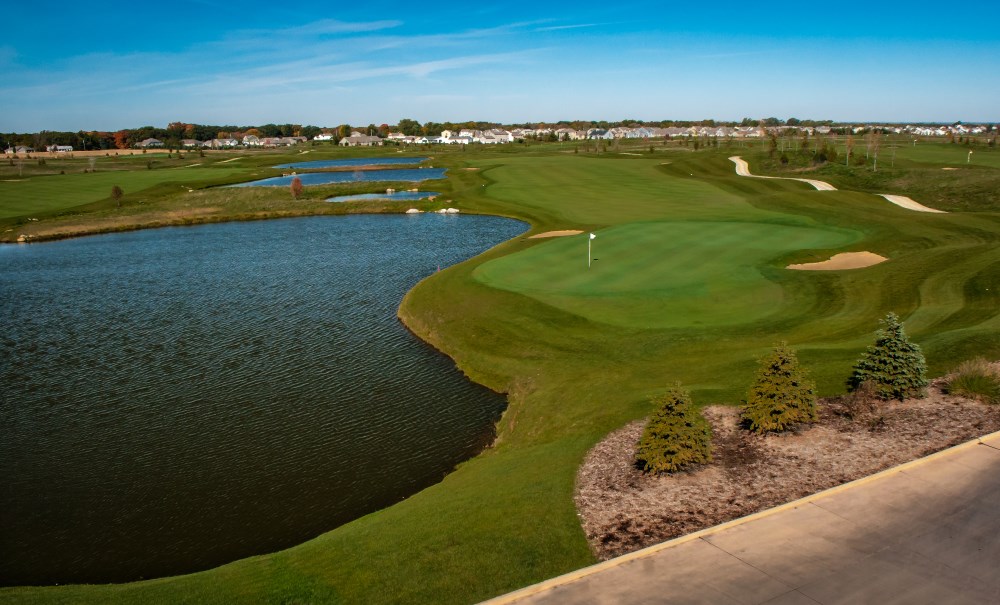
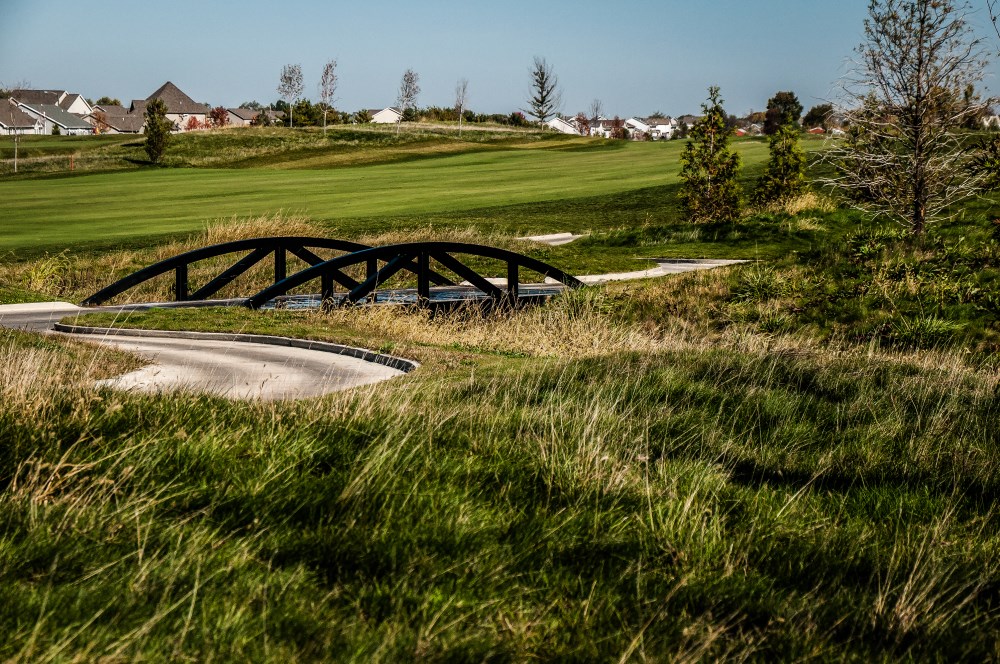
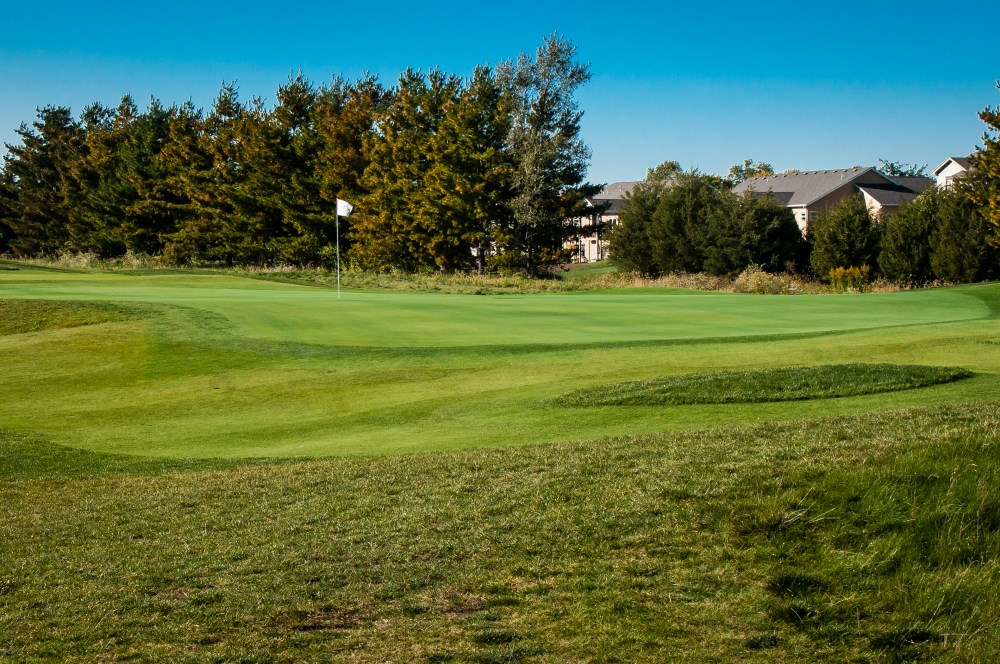
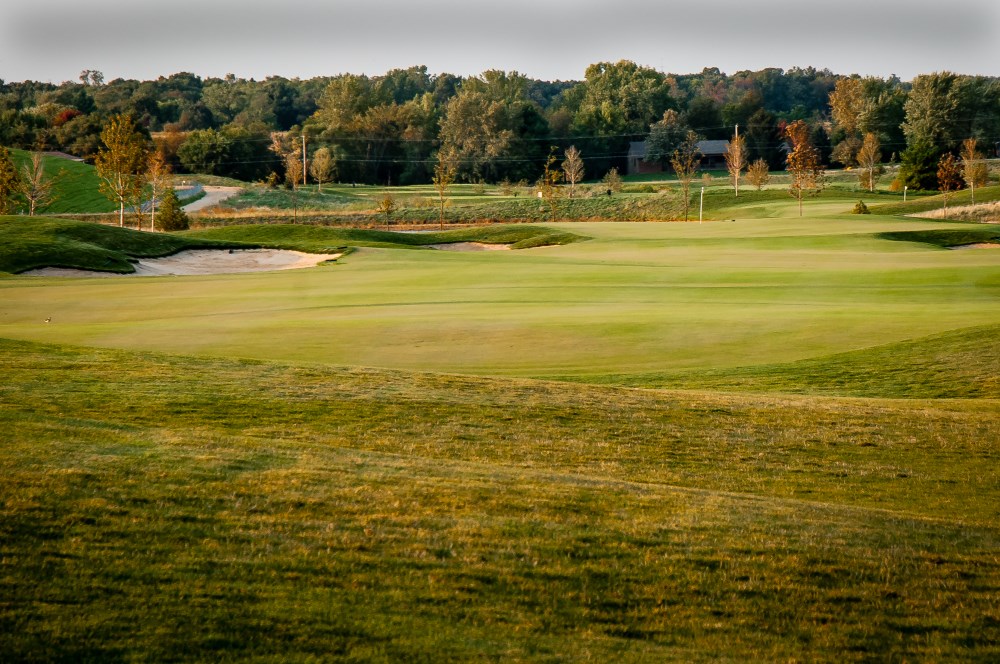
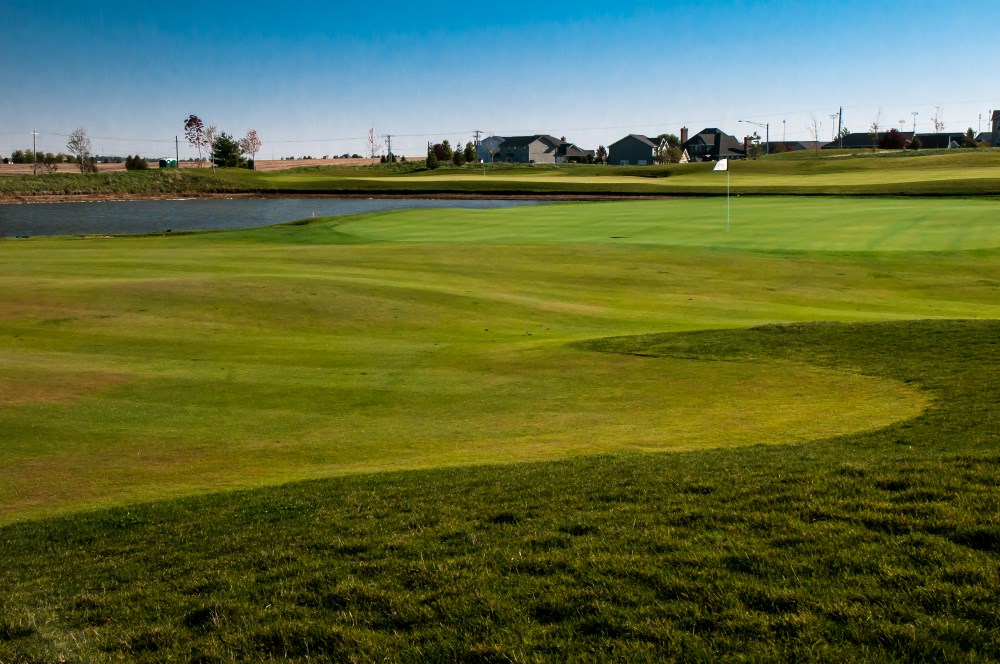
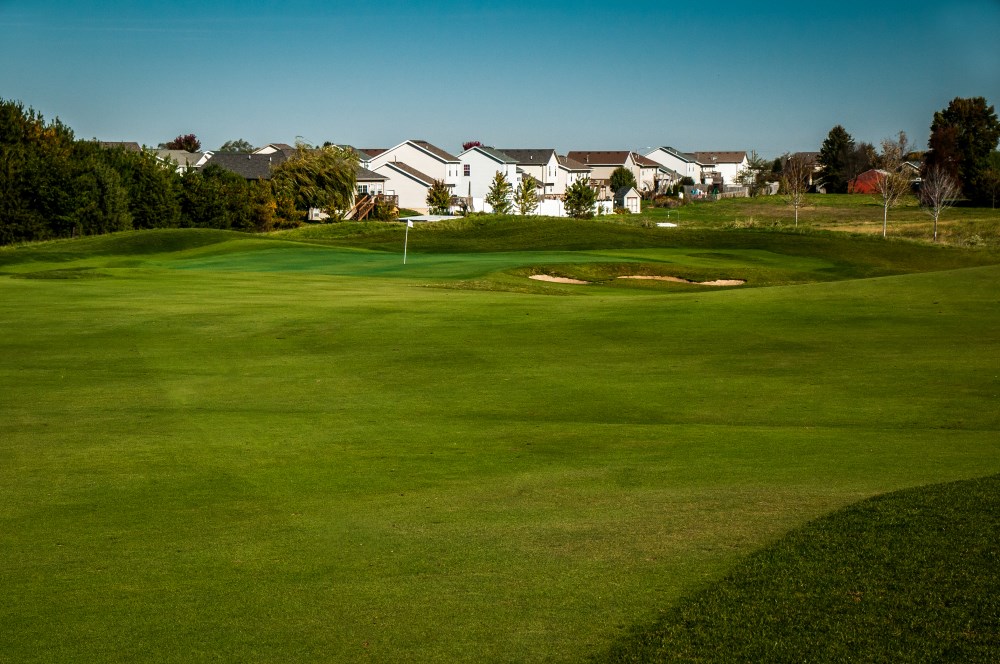
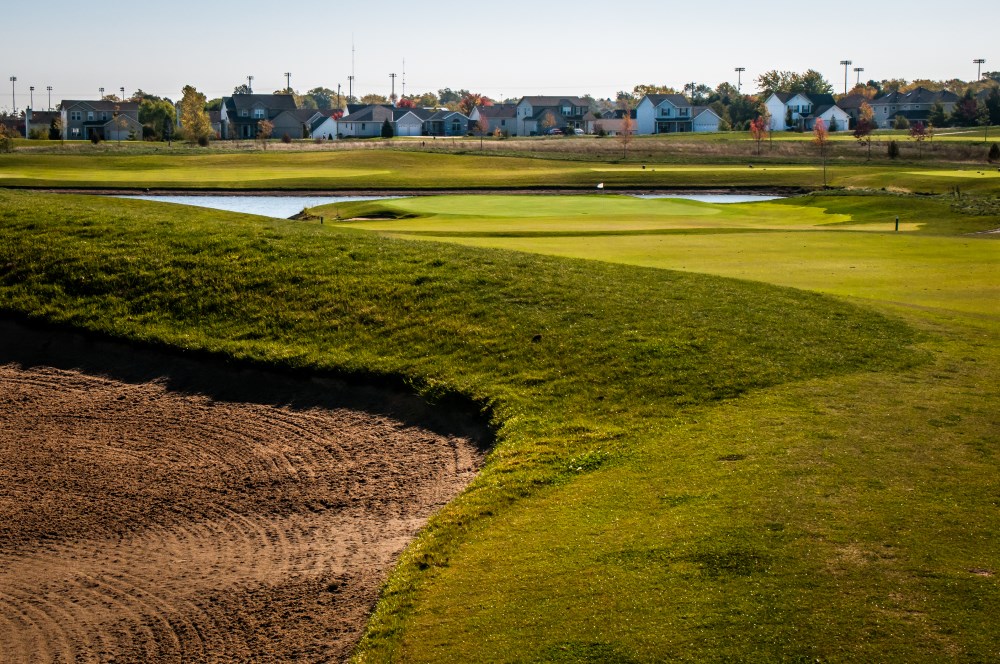
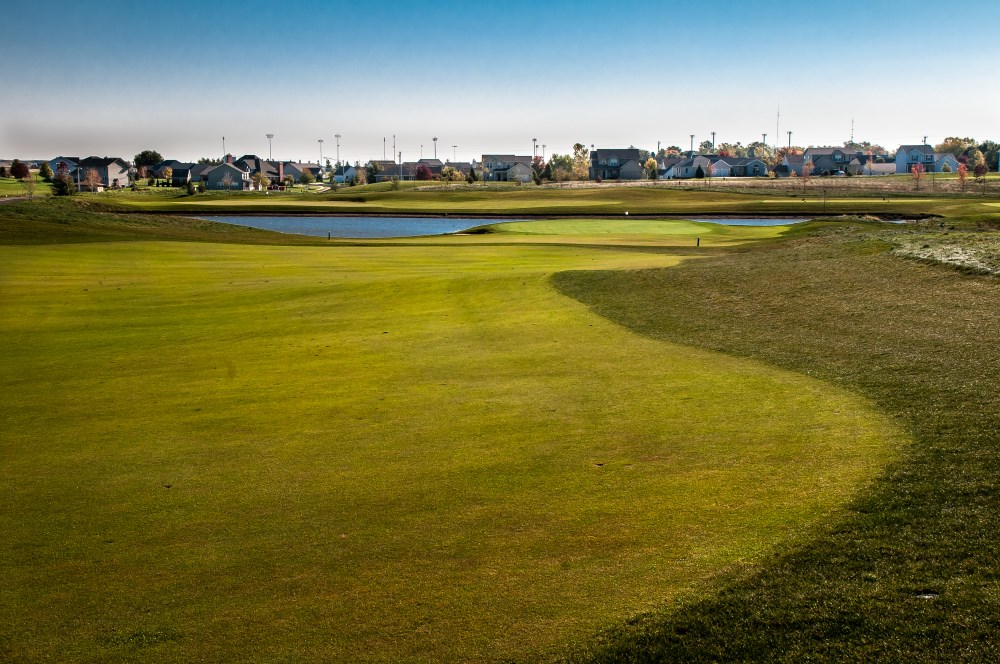
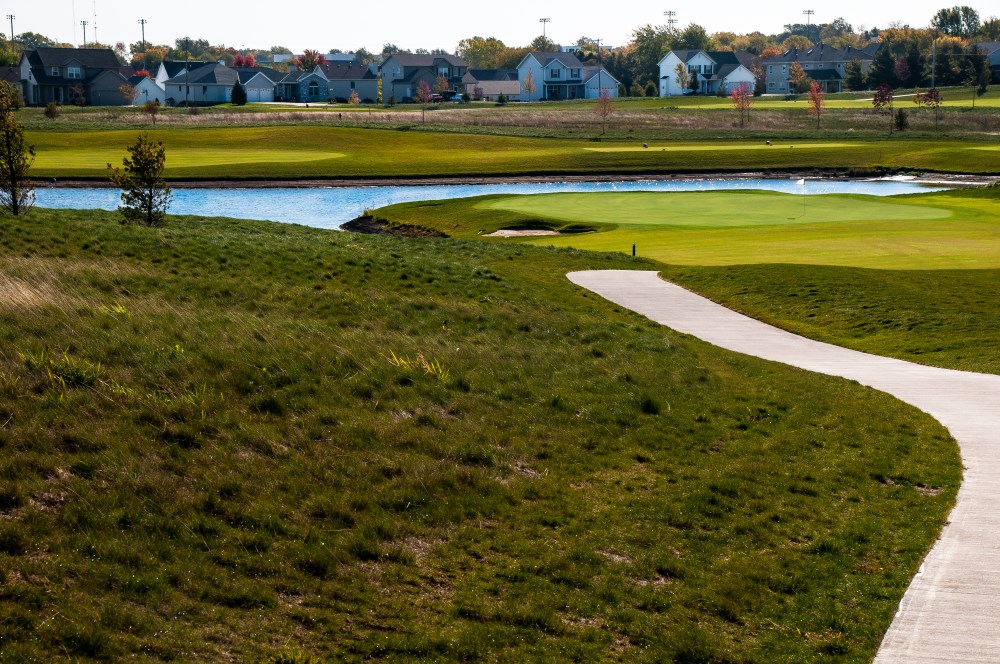
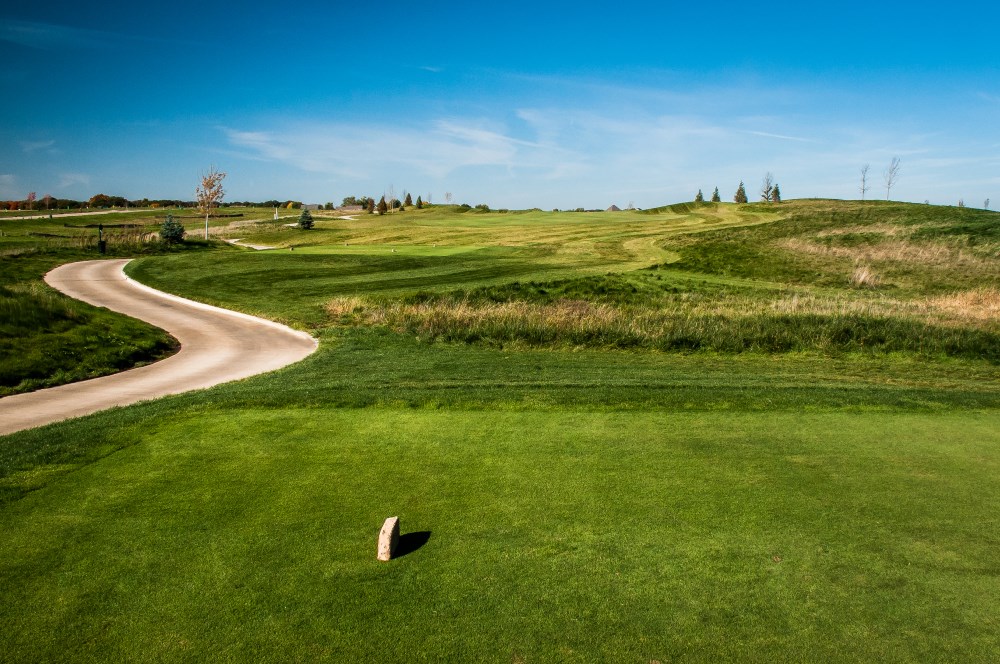
Hole #1: Start the round with this straight away par four with a downhill tee shot guarded on the left by a large bunker and along the right by a grass low that runs from tee to green. The green is guarded by a bunker front right and left. Hole #2: A picturesque par three on a lake with multiple tee areas. The green is situated on the water but has bailout areas along the right to keep the tee shot from finding the lake. Hole #3: This is a downhill par five with a creek that runs through the tee complex and down the left side of the hole. A unique split fairway creates options off the tee. Challenging the creek will open up a straight play into the long green guarded by the creek and a grass low. Plenty of options when playing this hole! Hole #4: There are many options on how to play this short, potentially drivable, par four. As many as four options for the tee shot alone, will provide various avenues to challenge a bunker less hillside green. Hole #5: A creek that bisects the tee from the green creates a very natural setting for this par three hole. The tee locations provide a variety of angles into this green setting that is flanked on the right by two creek side bunkers. A bounce in tee shot will be effective here. Hole #6: This three shot par five meanders along the edge of the property winding through land forms and substantial grass lows. The wide green will be easily accessible from the air or along the ground. Hole #7: The downhill tee shot is protected by a bunker left in the hillside and plays into a lakeside green. Plenty of bailout area left of the green if you do not want to challenge the pins along the water. A tee shot struck too well could end up in the lake. Hole #8: This long downhill par three with multiple tee angles provides another bounce in opportunity into a large left to right green protected by a right side bunker. Don’t let the deception bunker short and left of the green fool you. Hole #9: This beautiful par four supports a left to right tee shot guarded by bunkers on both sides. The lake and creek system flanks the right edge of the fairway from tee to green. The left to right green setting is protected by a bunker front right by the water and a bunker back left. This will be a challenging and scenic finish to the front nine. Hole #10: An old fashioned "up and over" tee shot that plays into a generous landing area. The second shot is into another hillside green location that is protected by a creek well short of the green and a bunker right front. Hole #11: The shortest par three at Metamora Fields plays along a ridge to an oval green that is out in the open and guarded by a bunker front left and back right. Many interesting challenges await the player who misses the putting surface with the tee shot. Hole #12: This par five has a downhill tee shot to a generous fairway. Second shot plays slightly uphill in between grass lows left and right. The green surface will not be visible from the first landing area but a carefully planned second shot to the right side of the fairway should allow for the best angle to approach the right to left green guarded by grass lows and bunkers front left and right. Hole #13: A lake near the tees helps to create a beautiful setting for this short par four hole. It is best to play a right to left tee shot into the landing area that is framed by bunkers short left and long right. The second shot plays mostly downhill to a small green protected by a bunker complex front right. Hole #14: The last par three of the round plays around a deep natural grass low. A right to left tee shot will work the best here where it will be possible to run the ball on the ground to the back left pin protected by a bunker front left. Hole #15: Dramatic uphill left to right tee shot to a plateau landing area between landforms containing bunkers left and right. The dramatic downhill second shot to a large green flanked left and in the rear by water and a small bunker front right. Bailout is possible to the right of the green. Hole #16: Uphill tee shot that splits two land forms to a wide fairway with no bunker protection. The approach to the green is protected by a large low front right of the green. A well placed second shot will feed into the front of this perched green along the ground. Hole #17: Straight away par four with a tee shot bisecting two landforms. A creek separates the fairway from the green located in the hillside and is protected by three bunkers. The pin location will determine which side of the fairway would be the best to place your tee shot. Hole #18: The final tee shot of the round is where you can challenge the water that runs along the left of the hole or take a safer route right of the small bunker left center of the fairway. The green is on the water with a bunker in the rear and fairway level bailout along the right side.
